
In this blog article I will describe the process of updating a VMware App Volumes AppStack.
VMware acquired CloudVolumes in August 2014 and released it with the name App Volumes in December 2014. App Volumes is free to owners of the Horizon View Enterprise bundle and can also be purchased as a standalone product.
VMware App Volumes has proven to be a very powerful product to deliver applications to both VMware Horizon as well as Citrix Virtual Apps & Desktops.
To start the process we first select the AppStack that we want to upgrade.
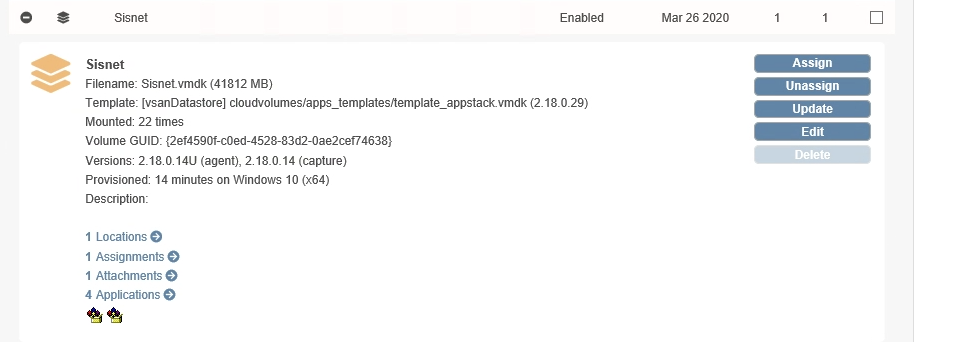
In this window we click on update.
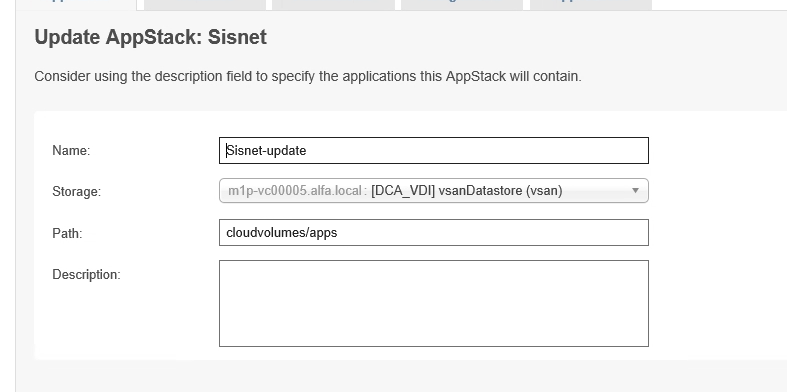
In this window we have to specify a new name. AppVolumes Manager suggest a name but you are free to choose you own.

Do you want to create the new AppStack in the background or do you want to wait. Important to know that if the process of creating the AppStack takes to long the window can freeze up or time out.

As you can see the AppStack is now created and ready for provisioning. Click on provision.
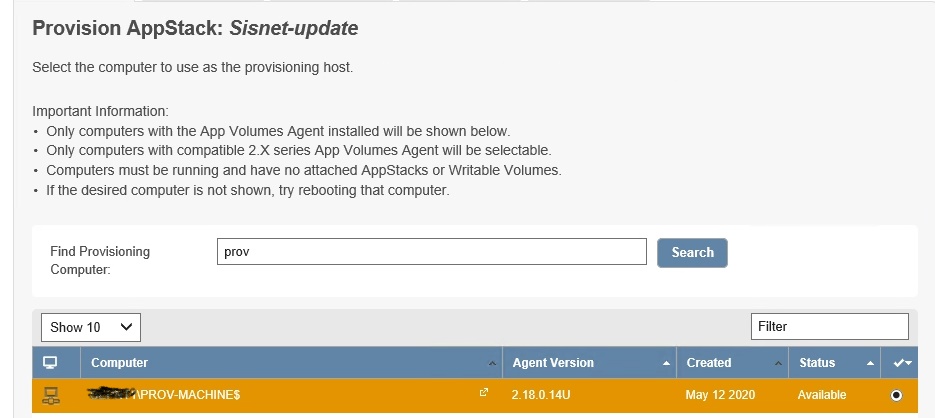
Select the machine you want to use to install the update. And click provision.

Click on Start Provisioning.
Now logon the specified machine (Prov-Machine).
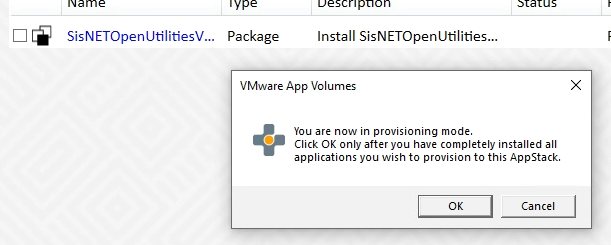
You are greeted by this message, don’t close this window, but start with installing your update.
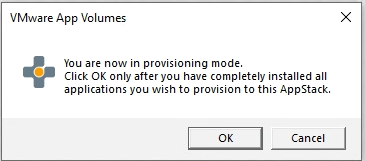
Once your installation is ready return to this window and click on OK.
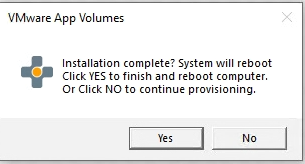
You are asked to confirm that all your installation tasks are completed. By clicking ok the system will reboot.
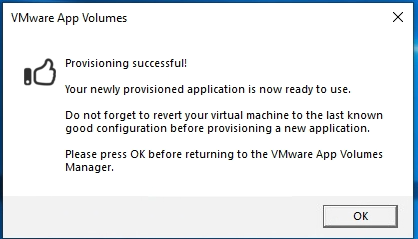
After you log back into the computer, this message confirms that the provisioning process is completed. You can now return to the AppVolume Manager console.
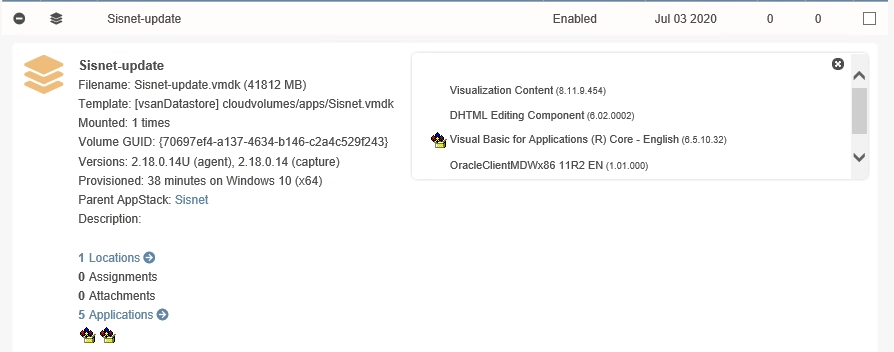
Your updated AppStack is now ready to be assigned to your users.