 Today I want to show you how to create a PowerShell instance that is all ready for managing a Citrix XenDesktop 7.1 environment.
We’ve all been there you want to check something quickly in your environment. You start up PowerShell, enter a command and you are presented with an error message that the command you just entered is not recognized by PowerShell.
We get this error message not because of a typo but because the Citrix Snap-ins are not loaded in this PowerShell session.
I want to be able to launch a PowerShell window and start with managing my Citrix XenDesktop Environment right away. To make this possible we have to create a PowerShell Profile.
Before we can start with creating a PowerShell Profile we first have to make sure that there is not already a PowerShell Profile present. We can do this with the following one-liner:
Test-Path $profile
$Profile is a build in variable in PowerShell for storing the path to the default PowerShell profile. As you can see the screenshot above in this environment we do not yet have a PowerShell profile.
To create a new PowerShell profile we use the following PowerShell one-liner:
New-Item –Path $Profile –Type File –Force
As you can see we have now created an empty PowerShell profile. The next thing you want to do is altering the profile for your needs.
To edit the empty profile use the following PowerShell one-liner:
notepad $profile
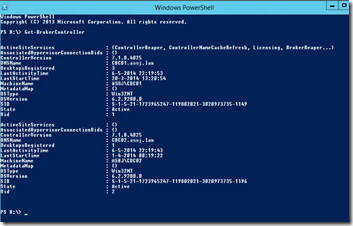
I’ve edited the profile file for it to include the loading of the Citrix Snap-ins. When I restart the PowerShell window I can immediately execute a Citrix PowerShell cmdlet.
Bonus
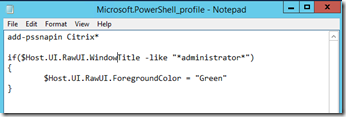
Here is a fun bonus to show what else you can do with a PowerShell Profile. Sometimes you need to run PowerShell with elevated rights. I always keep my PowerShell windows open, and I forget if PowerShell is started with elevated rights. So here is a little tip I use to see immediately that this is a PowerShell session with elevated rights.
Open your PowerShell profile with notepad.
When you launch PowerShell with elevated rights:
This is it for now, may the code be with you!


